A Headless Body Production
I finished enough figures to try out the rules for familiarization.
This is just me trying to work out the nuances. Much of the game is the same from the original version, which can lead to confusion when it isn't.
For instance, human vehicles can take multiple hits.
One thing that is confusing is with the army builds. There are plenty of add-ons for every unit. Some are obvious, like +5 points to make tanks veterans. Some are less obvious, like additional elements to a rifle company. Which are only primed at this time, so a concern for a later date.
Then there are command points for humans, and Tri-links for the Martians.
Note: Inappropriate capitalization is used to highlight specific rules or keywords to the game.
Red dice represent rolls by the Martian.
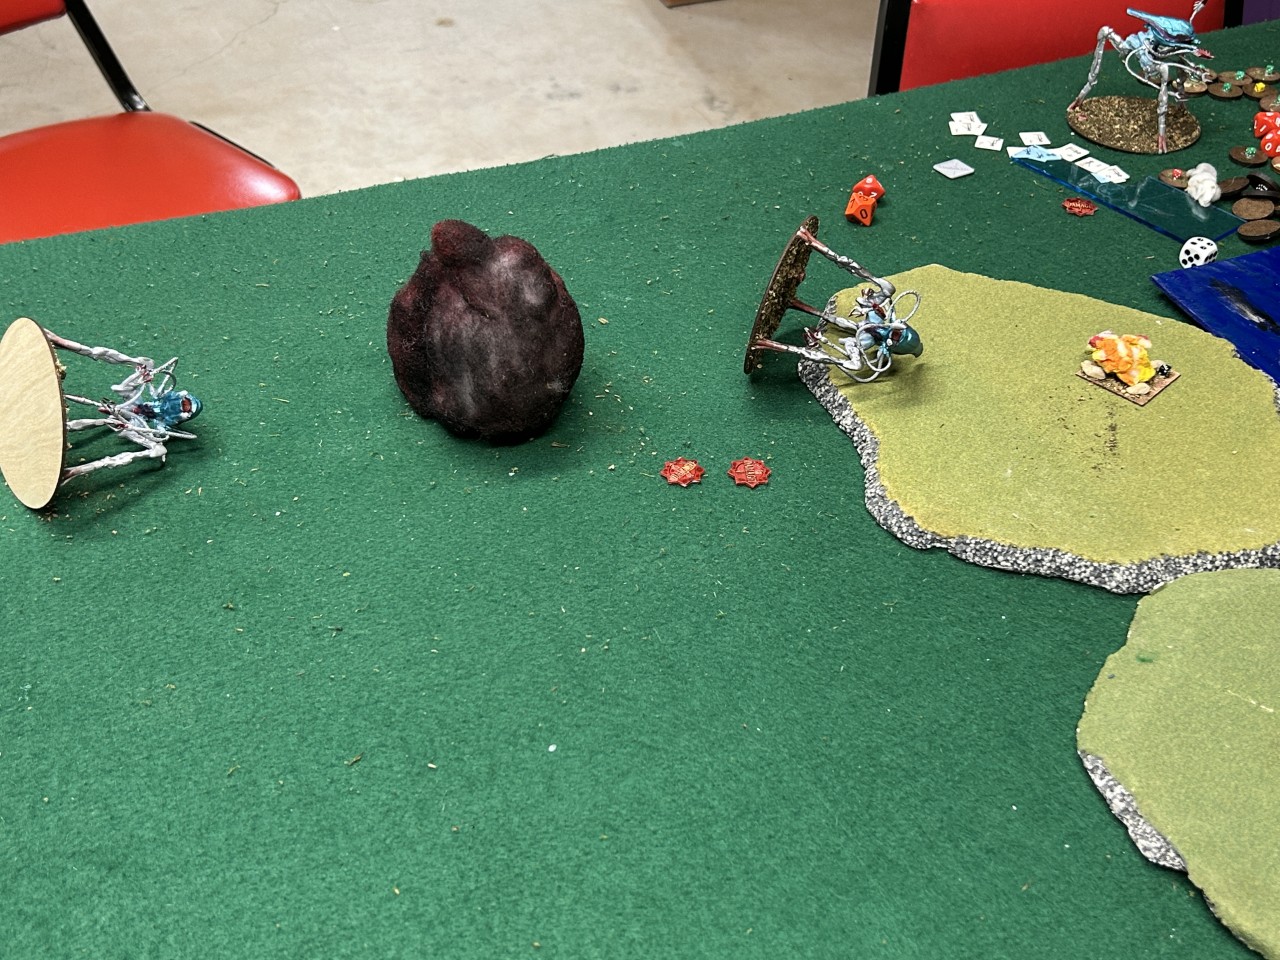
The Board:
The board is clear, the hills are really cosmetic. 4' x 6'. This is just to continue shaking out the rules. Some of the play erroneous play action was clarified by the game designers. Thanks Brandon Toomey!
And asking questions on the Return of the Tripods Facebook page as they occur.
The last game was a total slaughter of the Martians. Somewhat due to misunderstanding the rules, but mainly it seems to have been luck on the initiative rolls. In that game, despite the Tri-link advantage of +2, the Martians did not gain the initiative until it didn't matter any more.
 |
| It seems like history is repeating itself. |
 |
| Like the last game, I gave orders to both panzer platoons. And selected "double-time" to get in range and first shot. |
The Oberschlesies rolled a 10 for double time, but are limited to +8 by the rules. Good enough to get in range with their 5.7cm guns with +3 power.
 |
| And like the last game, rolled 3 misses... |
 |
| The first triad of tripods advance and unleash with their "double firing" blasters (with +2 power). 4 hits were scored, but only one penetrated the thick armor of 8 of the panzers. |
 |
| The second platoon of Oberschlesiens also activate with "double-time", this time scoring a severe hit on the middle tripod. |
 |
| The Raiders activate and destroy a panzer, damaged another. |
One rule of note is "Raider Insight." Page 93. In a tripod in a Tri-Link is activates, any unactivated Raiders may activate along with it. This behavior did not change from the previous game, just the mechanism.
So a Tri-Link with an Assault Tripod and two raiders activates. All of them can activate. Where as a Tri-link of all Assault Tripods can only activate one tripod at a time.
Turn 2:
 |
| A tie roll for initiative, but the Martians have +2 for having 2 active tri-links. |
The Martians have generated two command points from their Tri-Links. They allocated both with the intention of using them as "Pour it on" orders. It is not clear if the Order token is applied to a single tripod, or the whole unit, like the humans.
For this game, only one tripod will have the benefit of orders.
 |
| The Martians near the hills, one of which with "Pour It On" orders score fairly well against their opposing Oberschlesien panzers. |
 |
| The Germans activate the opposite platoon. Both platoons have order tokens with the intention of using them as Pour-It-On. As this platoon hasn't been shot at, it was activated first. Getting the most mileage out of the Token. And a good thing. They managed to topple a tripod before losing two of their number in return fire. |
 |
| The slower, and weaker A7V's advance for their first shot. One is in MG range (Blue dice) The other is not. But all roll successful hits! |
 |
| And all roll successful penetrations! Bringing down another tripod. |
 |
| The last panzer platoon fires with "Pour It On" orders. |
 |
| To good effect! |
Turn 3:
 |
| The humans have +2 for destroying 2 tripods last time, while the Martians have zero active tri-links. |
 |
| Winning the initiative rewards the player with one free "Maximum Effort" order. |
 |
| Maximum Effort allows a double fire activation. The panzers focus on one tripod to "seal the deal." |
 |
| The other panzer platoon failed it's morale check and is effectively destroyed. The A7V's slowly turn and shred the remaining tripod. |
In the last game the A7V's counted their MG's as two per gun on the model, 4 shots with rapid fire per side.
This has been corrected to 1 MG per hull, period. Counting 2 shots with rapid fire.
As far as I can tell and unlike the previous game. Once routed, the unit is effectively destroyed and not recoverable.
 |
| The last remaining tripod passes morale. Their morale is a base of 3, +2 for losses, so it only needed a 5 to stick around. |
Turn 4:
 |
| Not only passed morale, but gained initiative. |
 |
| With initiative, the tripod also gets Maximum Effort. It takes 4 shots. Putting only two more hits on an Oberschlesien |
If the number of Shock markers is greater than the number of remaining structure, then the element/unit makes a morale check. But this is unnecessary here, as the number of structure remaining and number of Shock counters is 1.
 |
| The A7V's "rush" to the last standing tripod, their 3.7cm barbette mounts causing an additional damage. |
The Martian continued to pass their morale check.
 |
| The humans have a +2 for destroyed tripods and so win the initiative. |
 |
| The last Oberschlesien gains "Maximum Effort", and rolls for 2 5.7 guns and 4 MG's |
 |
| The Martian only had one structure remaining, so it didn't matter which hit scored. |
Mistakes made.
On turn 1, the humans missed claiming Maximum Effort for winning the initiative. They could have applied it to the A7V's, and gotten into MG range a turn earlier.
On turn 2, the Martian assigned both orders. If they had not, then they could have used Maximum Effort to one of their units.
No comments:
Post a Comment